In January 2001, I had just received a Canon S100 "Digital Elph" camera for Christmas. This camera was, and still is, a marvel of miniaturization for what it does. But a serious downside of the small size is that the batteries don't last very long. A brand new battery pack will operate the camera, with the LCD viewfinder on, for about an hour, but after a couple of years' use, that same battery pack will give less than 10 minutes of such operation (although it may still take a hundred pictures if used carefully with the LCD mostly off).
Anyway, Matthias, who had given me the camera, also had access to some old surplus Lithium ion cells of a form factor suitable for the camera. These are just the raw cells, with no charge electronics at all. Reading up on this type of battery, we had concluded that
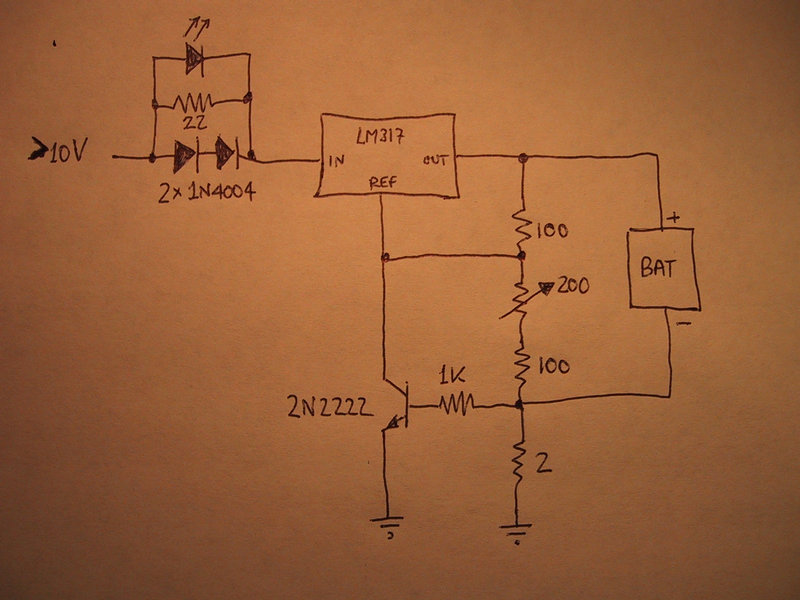
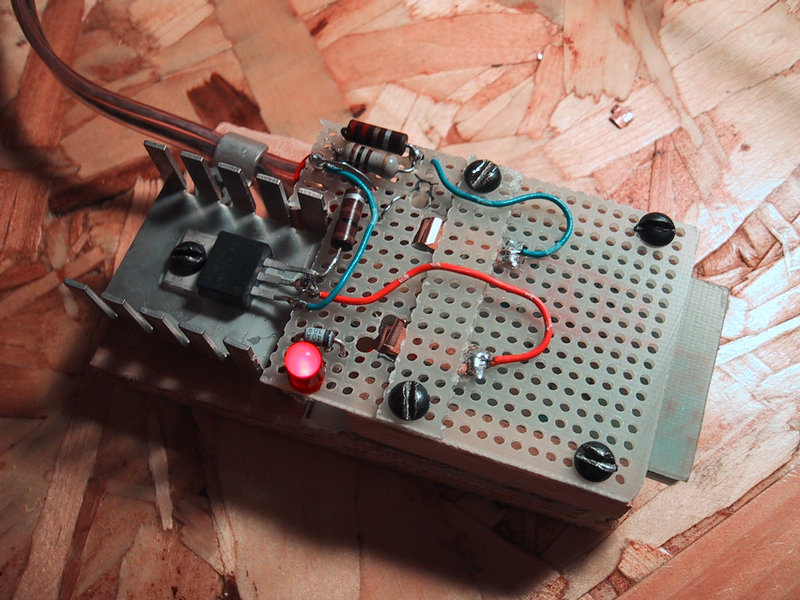
The LM317 is carefully adjusted for an open circuit output voltage of exactly 4.20V by adjusting the potentiometer. The other circuitry gives a short-circuit output current limit of 300mA, which falls off as the voltage goes close to the cutoff. The stuff in the upper left corner is a crude hack, by trial and error choice of the diodes, resistor and LED it was made so the LED does not get excessive current even with the output shorted, and lights until only a few milliamps of current flow.
Why build this charger at all? To be able to recharge these batteries in the car of course. It simply had not occurred to me to go and buy a 12V-120V power inverter. It turns out these only cost about $50 for a 150W model.
Would I subject the expensive Canon battery to such a primitive charger? No way! In fact, I intentionally constructed it so that the real Canon battery would not even fit in the slot, only the homemade battery packs would.
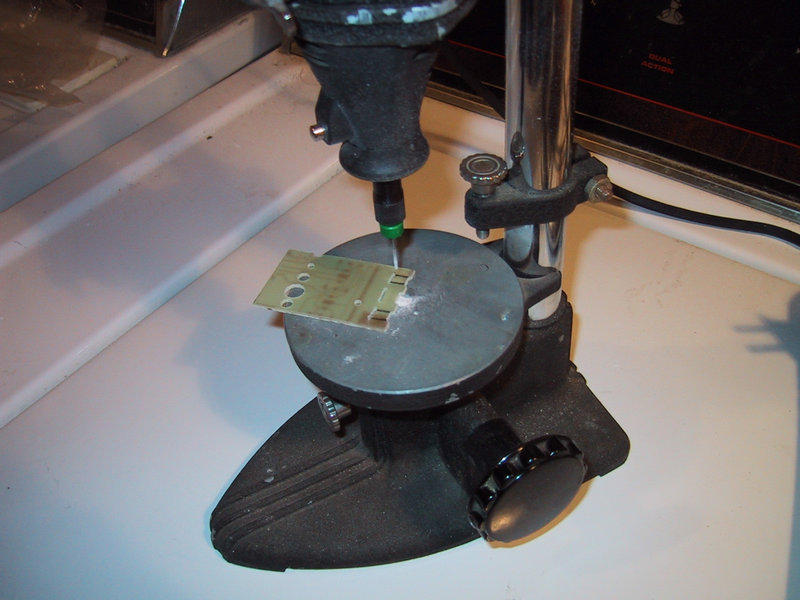
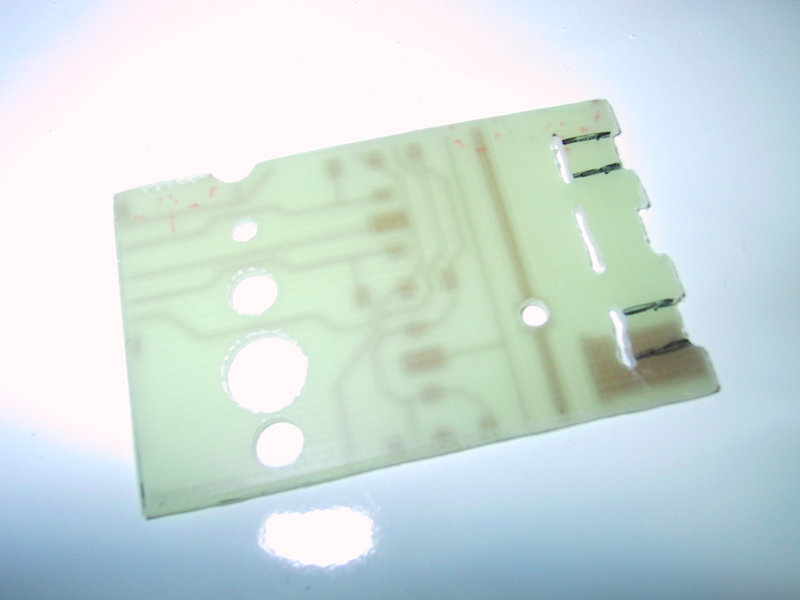
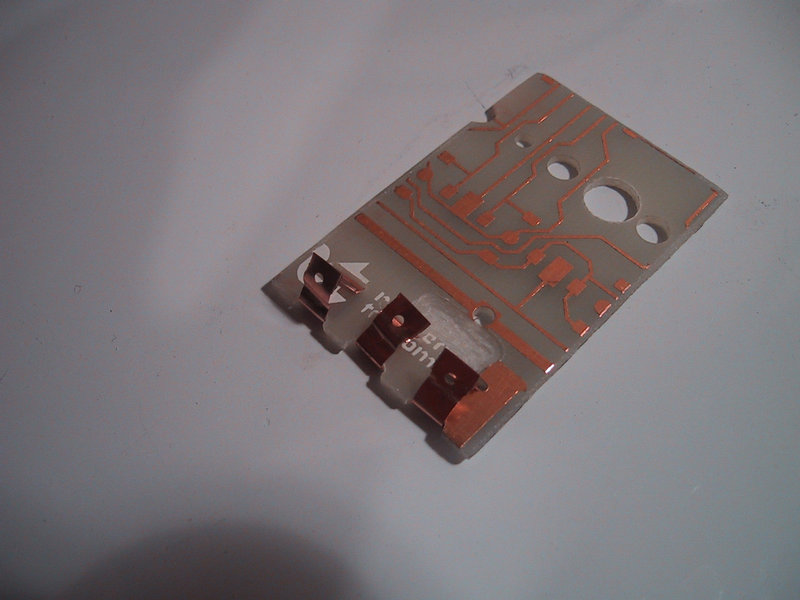
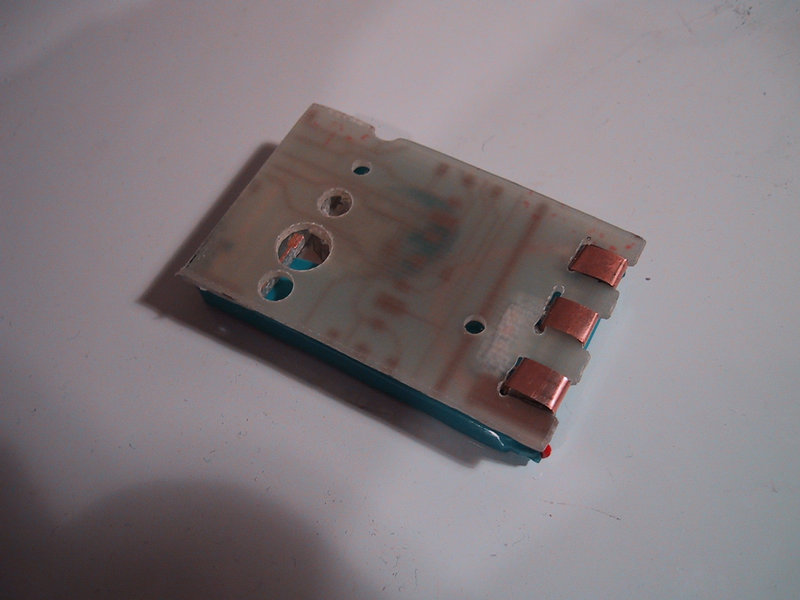
Now, to their construction. First, a suitable rectangle of circuit board material is cut out with a hacksaw. Then three slots and three notches are machined into it using a circuit board cutter bit in a Dremel tool. Then the same bit is used to dig out a cavity where a resistor will go (third picture).
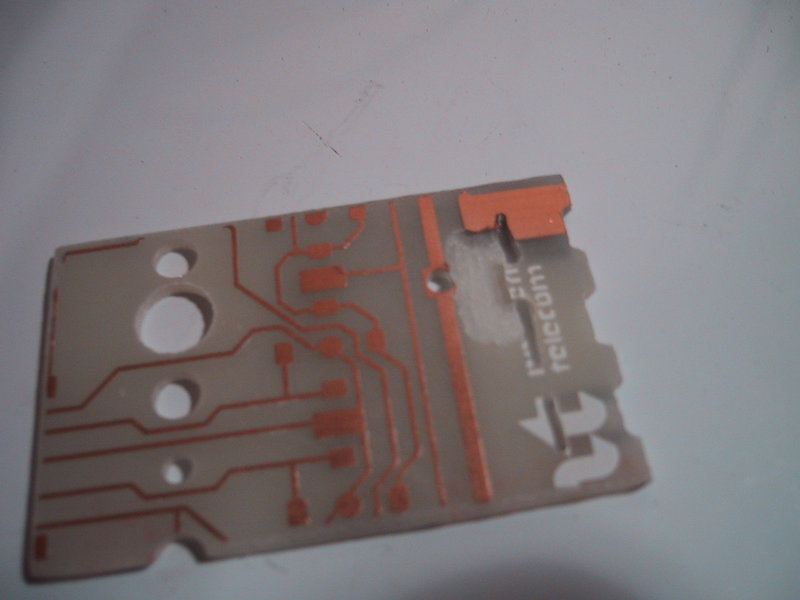
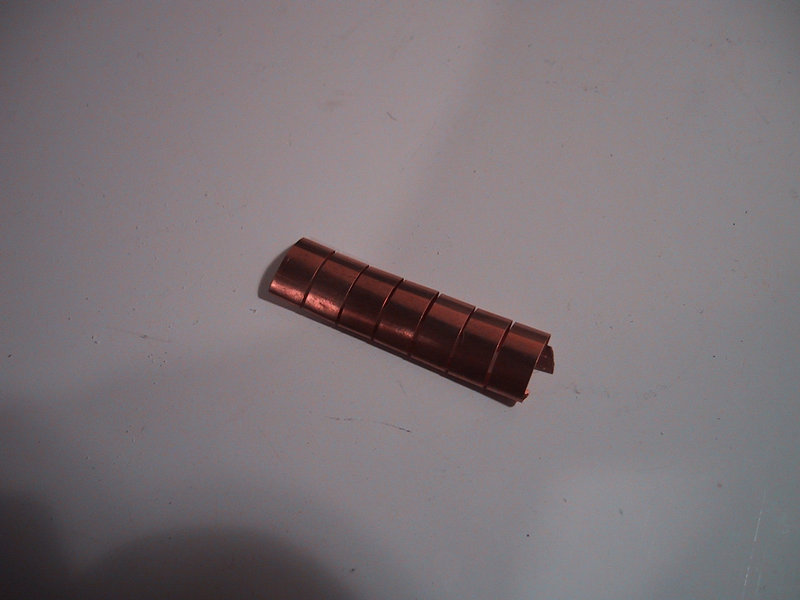
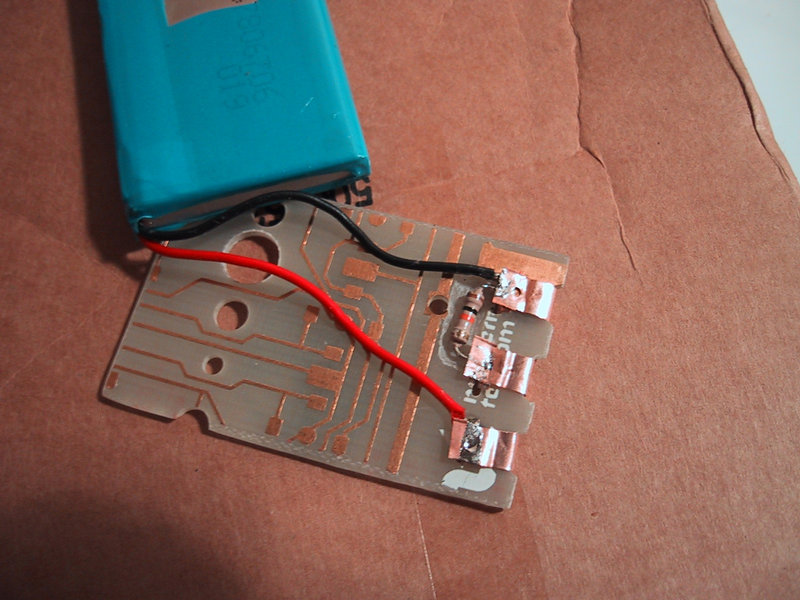
After some search for a suitable contact material, I found a hard and fairly corrosion-proof copper alloy material in the form of "EMI gaskets" for shielded electronic equipment. The next three pictures show the raw EMI gasket, and the assembly of the contacts and resistor. The resistor, it turned out, was necessary to trick the stock Canon charger into turning on (a real, though not Canon, battery pack that I have that fell apart reveals active electronics in there, of unknown function).
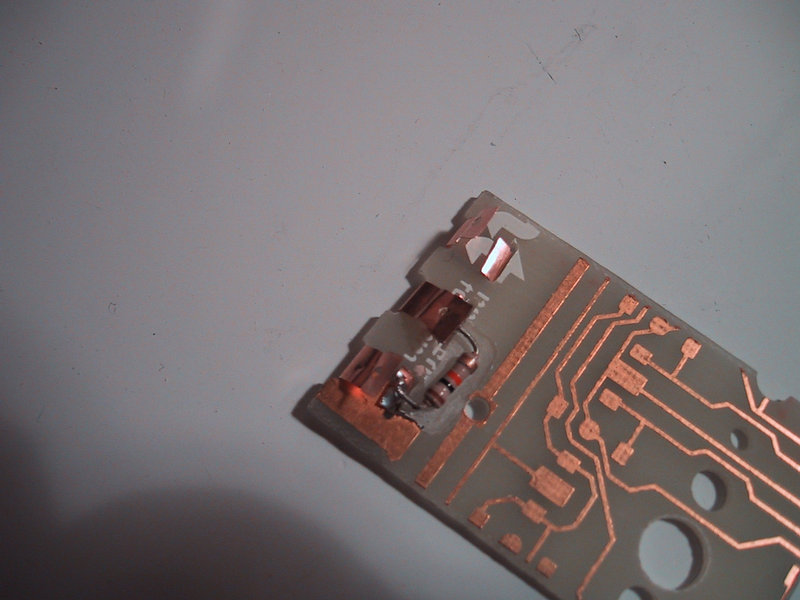
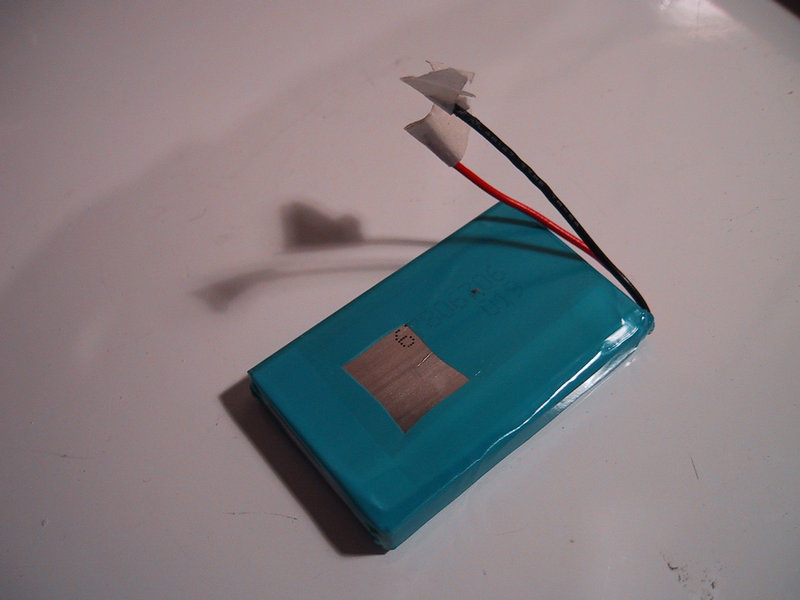
Final assembly consists of soldering the copper strip loops shut and attaching the wires from the battery, and fastening the battery to the board using a drop of hot-melt glue. To make it stick to the battery, a piece of the foil wrapper is removed.
Note that these batteries have no short-circuit protection whatsoever. Laying them face down on a piece of tinfoil would kill them (by blowing the internal fuses that Matthias says Lithium ion cells have for fire protection). In particular, this means that batteries need to be inserted into the camera in the correct orientation, since the back of the battery compartment is made out of metal!
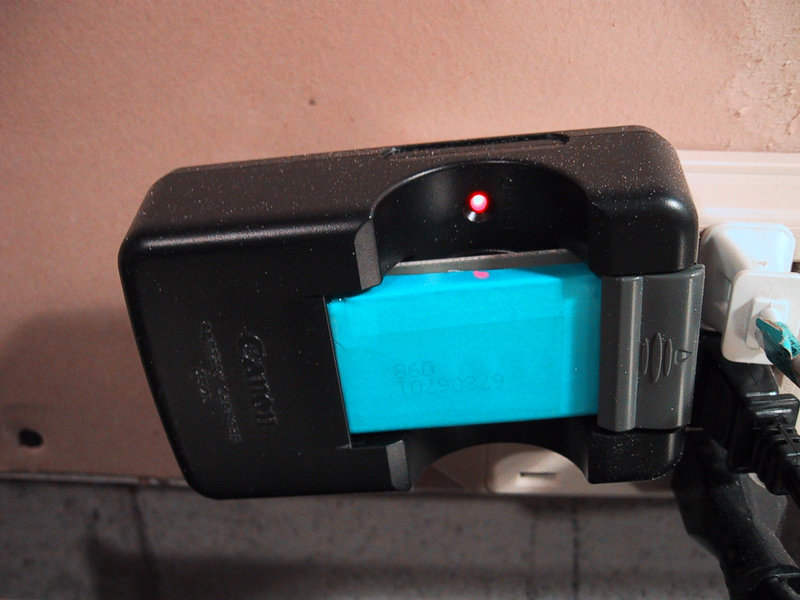
The test: The stock Canon charger accepts the batteries and charges them just like the regular battery (i.e. for the appropriate amount of time before the charge light stops blinking and comes on solid).
The homemade battery packs, charged with the stock Canon charger or the homemade gadget, worked great and operated the camera for a satisfactory amount of time. The whole thing served me very well on a long hiking and camping trip. I was able to take all the pictures in the Grand Canyon campout portion without access to a battery charger.
However the homemade batteries didn't last very long. After a dozen or so charge cycles each, they were practically dead. I have no idea what went wrong. Had the cells already deteriorated during several years of storage? (They were at about 2.5V when I got them). Did my charger, after all, miss some crucial aspect of Lithium ion battery protection, and kill them? I have no idea. If an expert happens to read this page, I would enjoy feedback.